The ArmorThane RV Roof Method, Step by Step
How an ArmorThane applicator takes an RV roof from leaking and patched to one seamless polyurea membrane — every step, in order, and why each one matters.
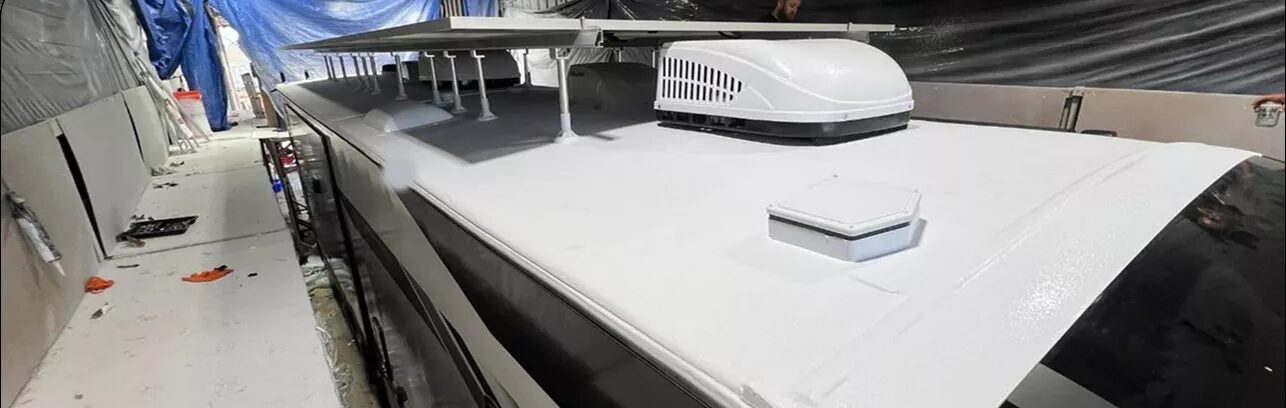
Ask ten RV owners how they deal with their roof and you’ll hear ten versions of the same routine: climb up every spring, find the cracked sealant, scrape it, re-caulk it, hope. The ArmorThane method exists to end that routine. Instead of maintaining dozens of seams and sealed joints, an applicator sprays one continuous polyurea membrane over the whole roof — edges, vents, skylights and all.
This is the process, step by step, the way ArmorThane applicators approach every RV roof.
- Inspect and repair first — polyurea seals whatever is under it.
- Prep and prime for the specific roof material.
- Spray a heated, plural-component polyurea membrane in one continuous pass.
- Finish with a UV-stable topcoat, reinstall fixtures and inspect.
Step 1: Inspect and map the roof
Every job starts with a slow walk of the roof. The applicator maps every penetration — roof vents, AC shrouds, skylights, antenna and solar mounts, ladder brackets — and checks the edges and front and rear caps where most leaks begin.
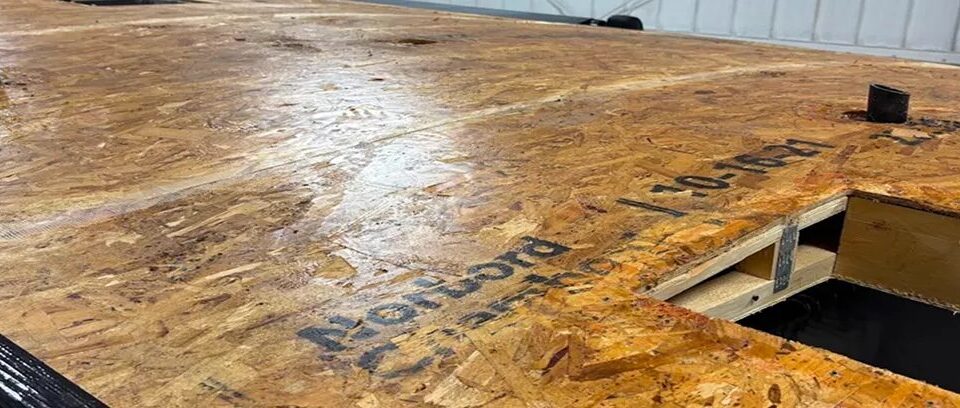
The most important thing they’re looking for is what you can’t see from the ground: soft spots. A spongy area means water has already reached the decking. That wood has to come out and be replaced before anything is sprayed, because a coating seals in whatever is underneath it. Coating over wet or rotten decking just traps the problem.
Step 2: Prep, clean and mask
Next comes the unglamorous work that makes or breaks the job. Failed lap sealant and caulk are removed. Loose or bubbled membrane is cut back. The surface is cleaned and scuffed so the coating has something to grab.
Roof material matters here. Rubber roofs such as EPDM are what coatings chemists call low-surface-energy substrates — things don’t like to stick to them — so they get prep specific to that material. Sidewalls, windows, awnings and anything that shouldn’t be coated are masked off.
Step 3: Prime for the bond
ArmorThane treats the bonding primer as a critical step, not an optional one. The primer is matched to the roof substrate so the polyurea membrane locks to the roof rather than simply sitting on top of it.
This is also where moisture control matters most. Moisture or contamination left on the surface is a leading cause of blisters later. A good applicator would rather wait for a dry surface than spray on a bad one.
Step 4: Spray the seamless membrane
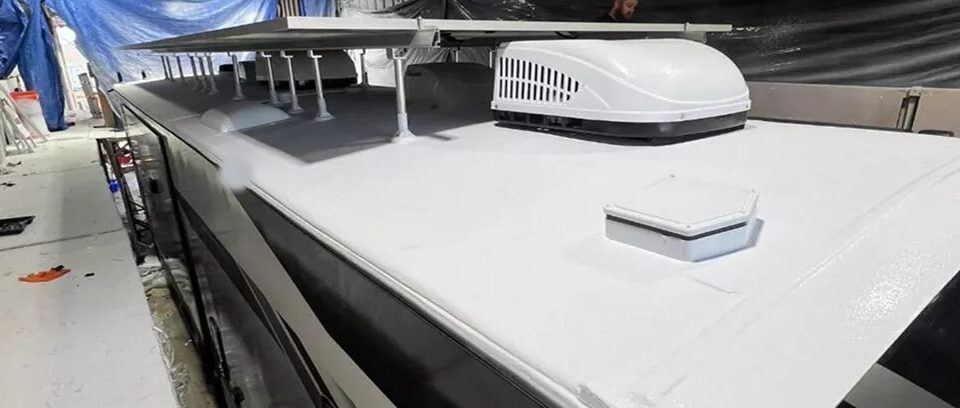
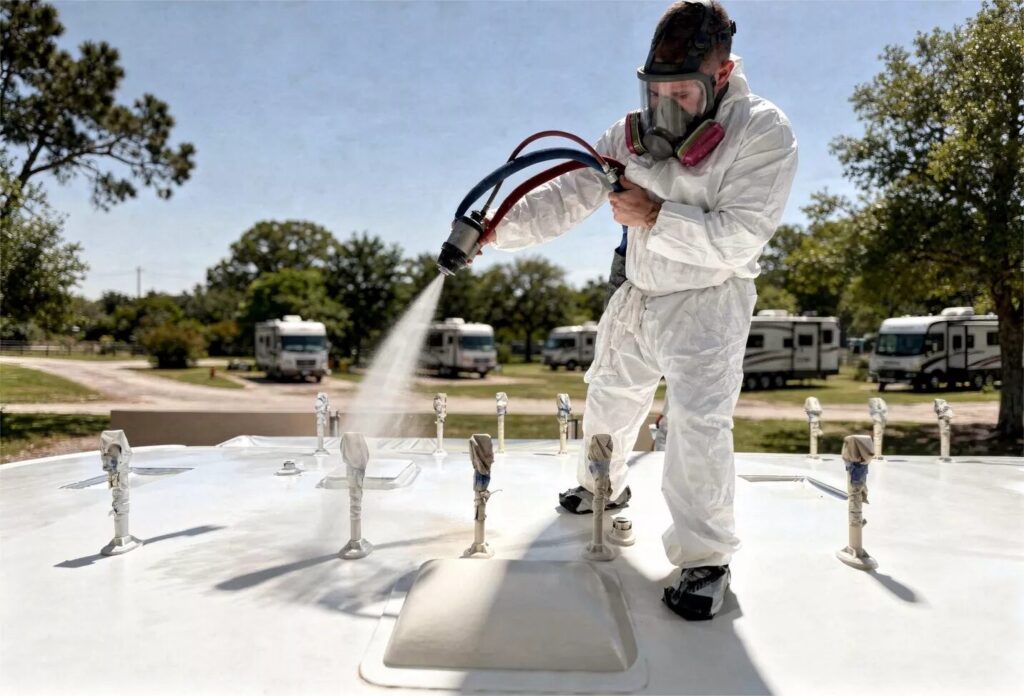
Now the equipment does what a roller can’t. ArmorThane applicators use heated, plural-component spray equipment that mixes the two sides of the polyurea at the gun. ArmorThane describes typical application at roughly 2,000–3,000 psi with the material heated to about 150–160°F.
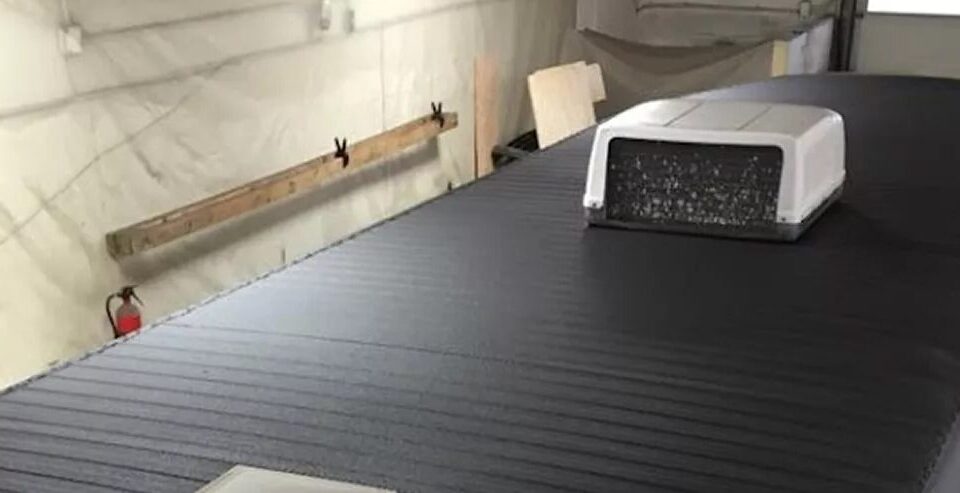
The result is a single monolithic membrane. It’s sprayed up and over the roof edges and built up around vents and fixtures, so there are no laps, flanges or seams left to separate. Spray polyurea stretches several hundred percent before it breaks, which is exactly what you want on a roof that twists and flexes every time the RV moves.
It also sets fast. ArmorThane notes the membrane is tack-free in about an hour — one reason the whole job usually fits into a day or two.
Step 5: Topcoat, reinstall and sign off
A UV-stable topcoat is applied over the base membrane to protect it from sun exposure over the long haul. Masking comes off, fixtures go back on, and the applicator does a final inspection — ideally walking the roof with the owner.
ArmorThane cites typical time on site of one to two days and an expected service life of 20+ years for a properly applied system. Because there’s no lap sealant to maintain, upkeep becomes a simple annual inspection instead of a yearly re-caulking ritual.
What this means for owners — and applicators
For RV owners, the method trades endless maintenance for one well-done job. For applicators, it’s a repeatable, teachable process that turns into a business: the same five steps, done right, on every roof.
Want to see how it compares to the alternatives? Read our honest comparison of spray, roll-on and replacement. Thinking about doing this work yourself? Start with becoming an ArmorThane applicator.
Want to spray RV roofs for a living?
$0 franchise fee. 0% royalties. Training, certification and a 24/7 tech line from ArmorThane.