Why RV Roofs Leak (and Why Seams Are the Real Problem)
Most RV roof leaks don't start in the middle of the roof. They start where something was joined, sealed or screwed down. Here's where to look — and how to stop chasing them.
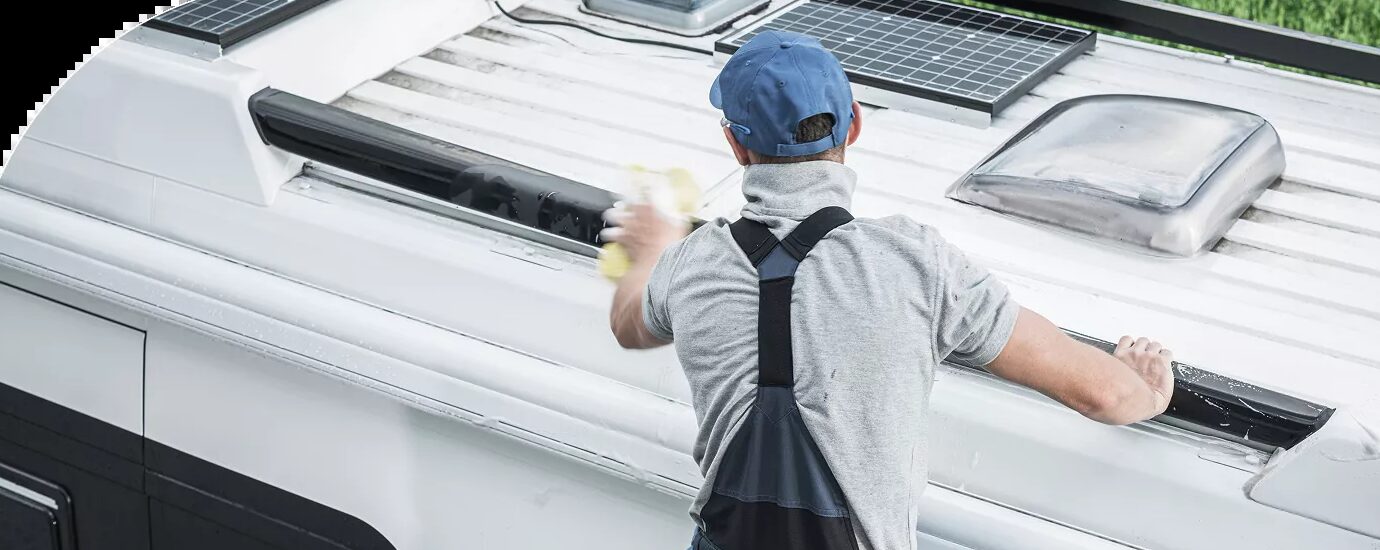
An RV roof is not one piece. It’s a membrane or panel system stitched together around a dozen or more openings, with every joint held closed by sealant. That design works on day one. The trouble is everything that happens after.
Where RV roof leaks actually start
When an applicator inspects a leaking roof, the source is almost never a hole in the open field of the membrane. It’s usually one of these:
- Seams and laps where membrane sheets or panels meet.
- Front and rear caps, where the roof transitions over a curve.
- Roof edges and termination bars along the sidewalls.
- Penetrations — vents, skylights, AC units, antennas, solar and ladder mounts.
- Screw heads and fasteners that have backed out with vibration.
Every one of those spots is a joint. And every joint depends on sealant.
Why sealant is a maintenance schedule, not a fix
Lap sealant and caulk do their job — for a while. Sun exposure and heat cycles dry them out. They shrink, crack and pull away from the surfaces they’re supposed to seal. That’s why RV maintenance guides tell owners to inspect and touch up sealant regularly: it’s designed to be replaced.
Miss one season, or miss one cracked bead, and water finds a path. Because water travels along the deck before it shows up inside, the stain on the ceiling is often feet away from the actual leak.
The flex problem
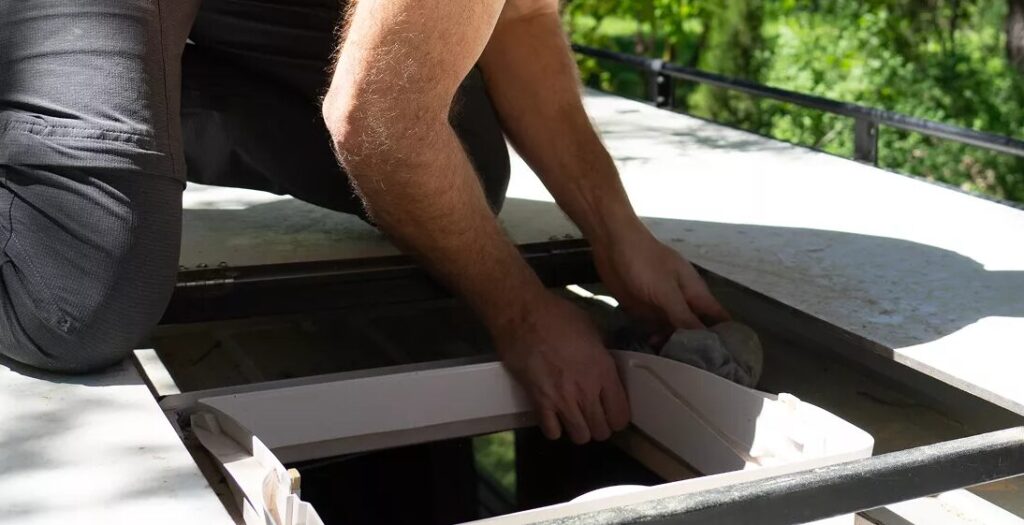
An RV roof isn’t sitting on a foundation. It twists on every pothole, every turn and every gust on the highway. That constant movement works joints loose and cracks rigid or thin coatings. A roof solution that can’t stretch with the RV will eventually let go somewhere.
Signs your roof is already leaking
- Soft or spongy spots when you walk the roof
- Ceiling stains, sagging panels or bubbling wallpaper
- Musty smells, especially near vents or corners
- Cracked, missing or separated sealant around fixtures
- Bubbles, wrinkles or loose areas in a rubber membrane
Removing the weak point instead of maintaining it
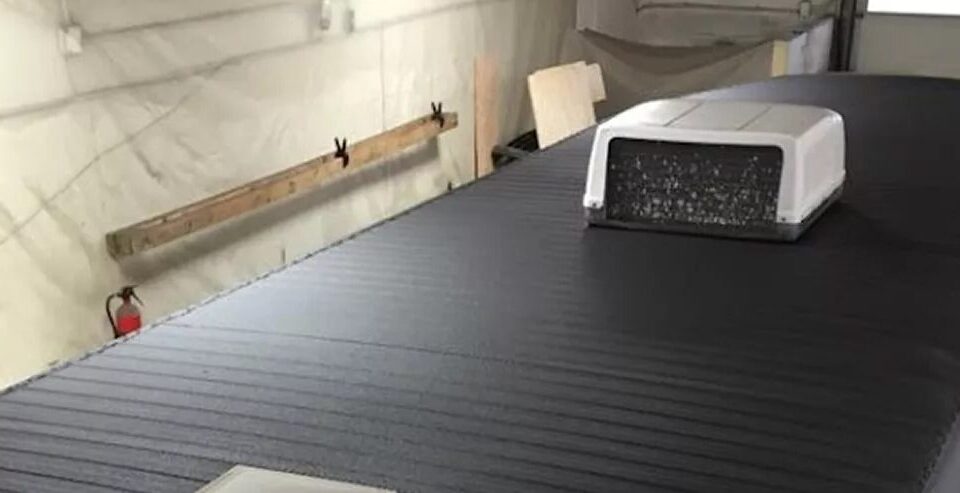
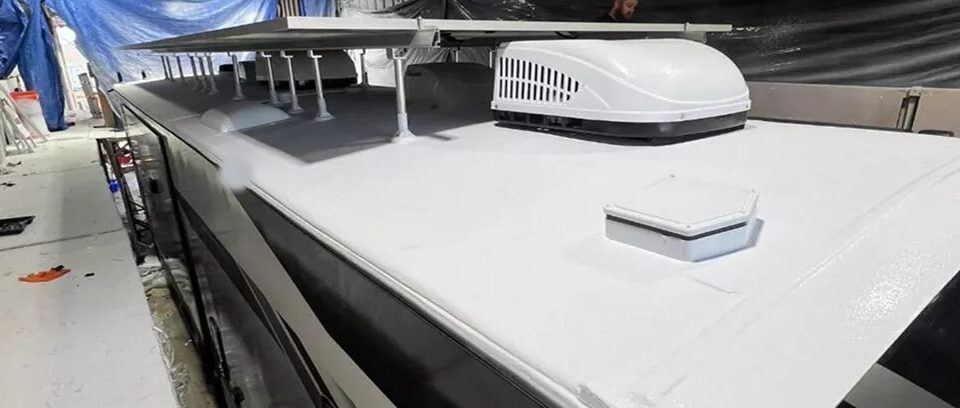
The ArmorThane method approaches leaks differently. Rather than re-sealing each joint, an applicator sprays one continuous polyurea membrane over the entire roof — up and over the edges and built up around every penetration. With no seams or laps left, there’s nothing for sealant to hold together.
Spray polyurea also stretches several hundred percent before it breaks, so it moves with the RV instead of cracking against it. That’s the core idea: stop maintaining seams by not having any.
See exactly how it’s done in the ArmorThane RV roof method, step by step.
Want to spray RV roofs for a living?
$0 franchise fee. 0% royalties. Training, certification and a 24/7 tech line from ArmorThane.