Roofs we've put back on the road.
A look at RV roof work from the ArmorThane applicator network — from bare decks to finished, seamless membranes. Tap any project to see it larger.
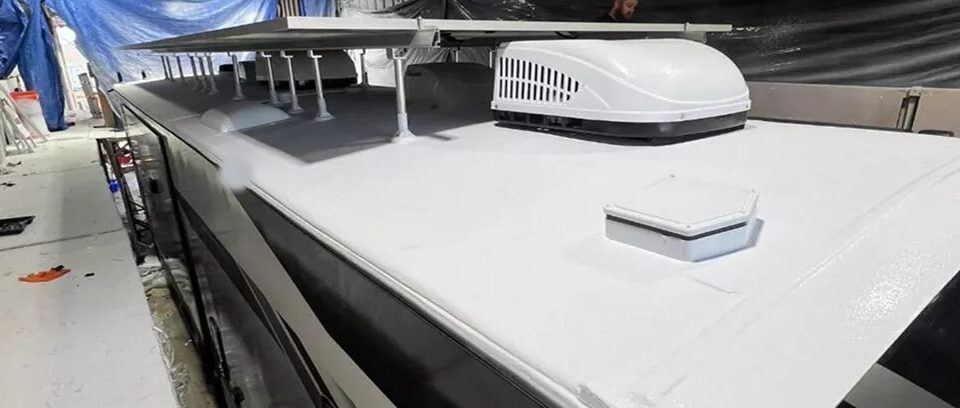
Full-length trailer roof, white finish
One continuous white membrane from cap to cap — wrapped over the edges and around the AC shroud with nothing left to re-caulk.
Rounded front cap in textured gray
Textured gray polyurea flowed over the curve of the cap and around the clearance lights for a tight, factory-looking finish.
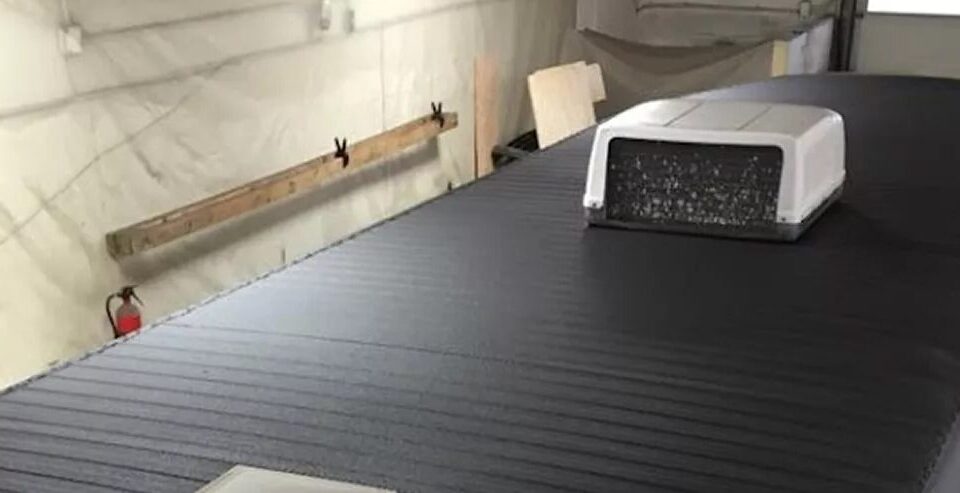
Black membrane over a rebuilt deck
Black spray polyurea over a prepared deck, sealing every penetration in a single seamless pass.
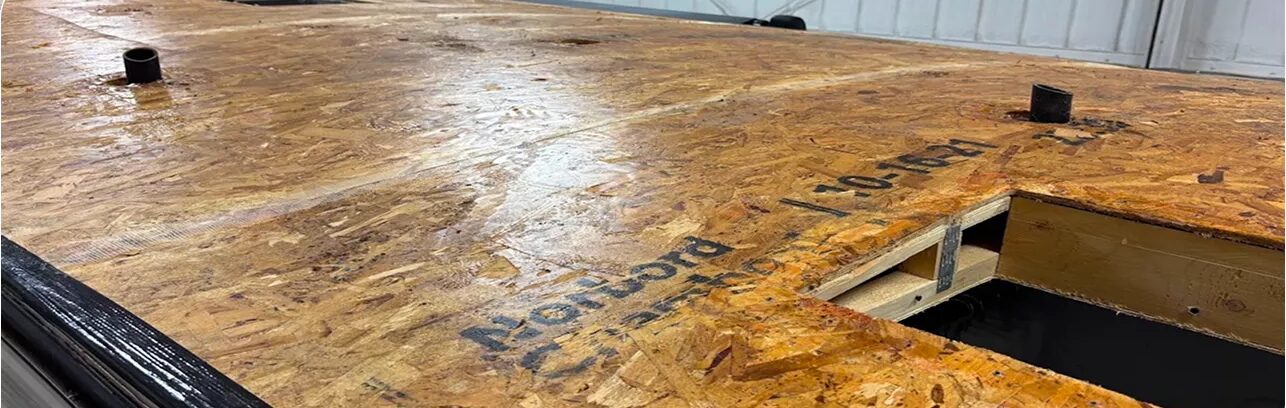
Opened up to the deck
When decking is soft, it comes out first. This roof was taken down to the deck and repaired before the ArmorThane system went on.
Motorhome cap and roof, white
White polyurea carried over the front cap and down the length of the roof — no laps, no seams, no lap sealant to maintain.
Spraying on location
Fully suited applicator laying down white polyurea on location — the same heated plural-component process used on RV roofs.
Pre-job roof inspection
Every job starts with a walk of the roof: vents, skylights, solar mounts, seams and soft spots all mapped before prep begins.
Trailer deck & rails
The same equipment that sprays RV roofs protects trailer decks and rails — extra revenue from the rig you already own.
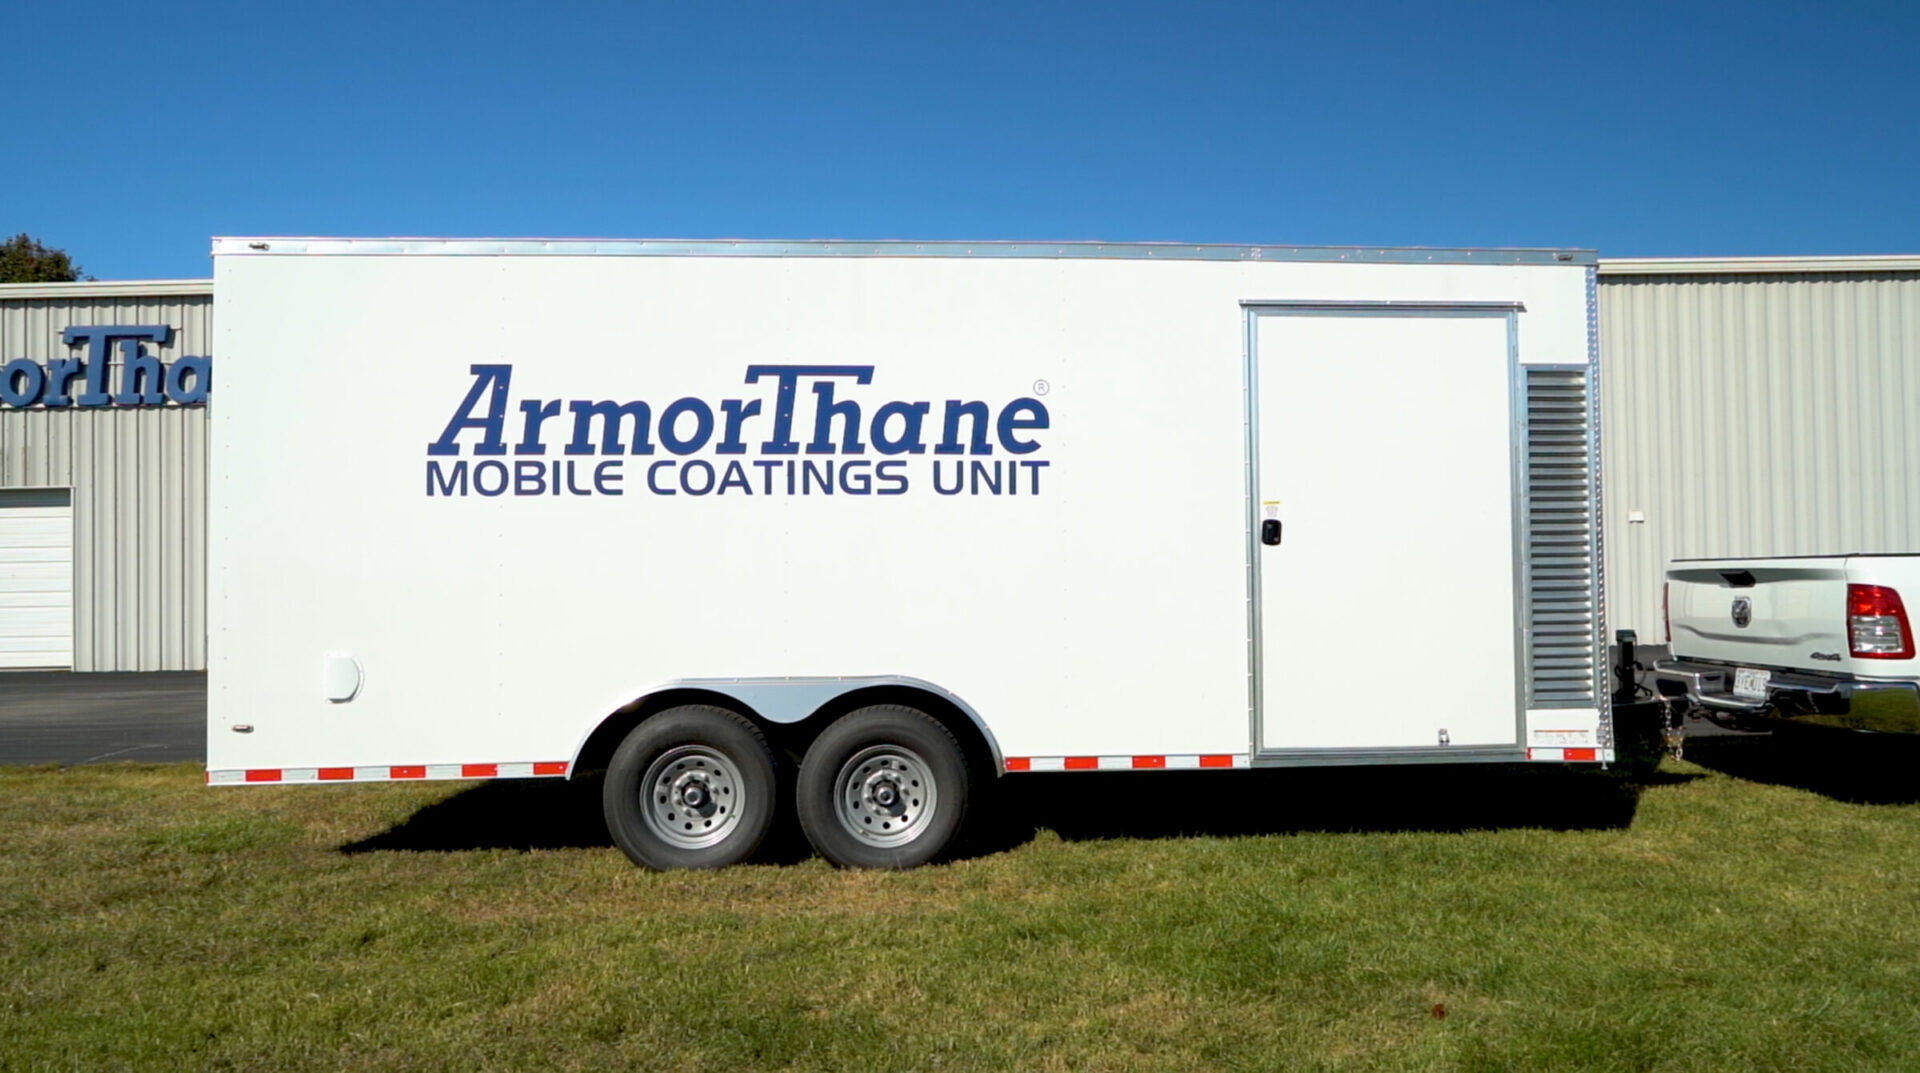
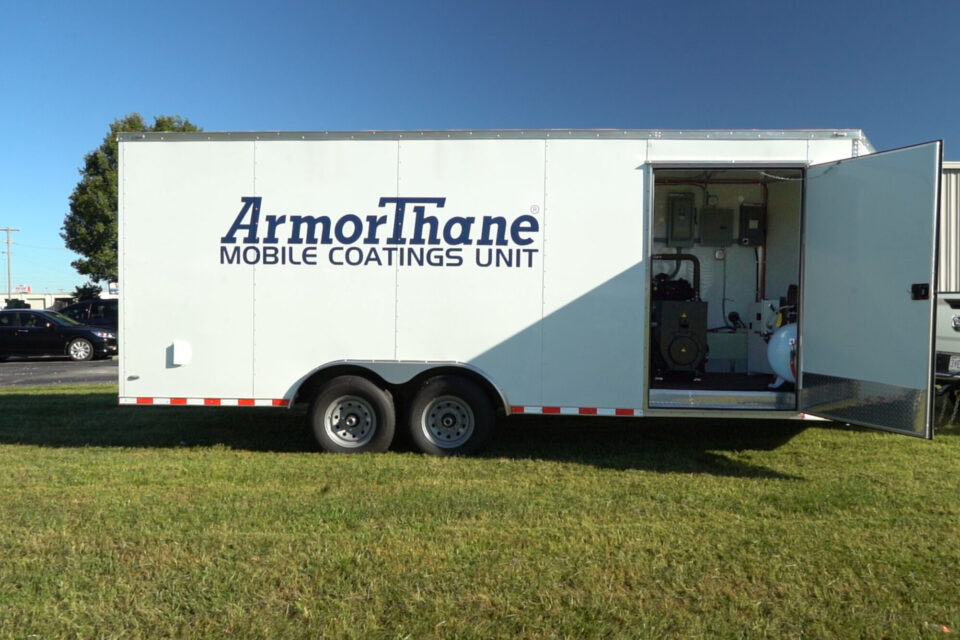
Inside a Mobile Coatings Unit
Proportioner, heated hose, power and supplies built into one trailer so the shop comes to the RV.
From bare deck to finished roof.
The best projects look boring in the middle: soft decking cut out, old sealant scraped, every penetration masked and primed. The spray itself is the fast part. Read how a typical ArmorThane RV roof comes together, start to finish.
See the full process